

When you get a new home but it has a lousy, crooked staircase, what do you do? YouTuber April Wilkerson says remove it and build another on your own.


So she did. Her wooden staircase project only cost her $700, which is a discounted amount thanks to her Home Depot Consumer Credit Card. She was able to complete the project after a week of work.
In the YouTube video at the end of this article is a DIY of a new wooden staircase from the ground up.
For this, she had to uproot the old one. She removed the 4×4 wooden posts set in concrete using hi-lift jack. To do that, she nailed a two 2×4 so she could start jacking the post directly up to the ground. But to pull out the post out of their bases, she had to call her husband, who is an engineer, and use his strength.
The audience of her DIY might notice that April does most of the job alone with little to no help from her husband. She had this to say, “A lot of people are often confused by or even insult my husband for not helping me out in tougher jobs like this, and believe me I have no problem asking for help when I want it or need it. But I do prefer to do things on my own if I am able to, and he respects that.”
After removing the old posts, she cut four 4×4 wooden posts as the support of the decking.
There were existing anchors on the concrete slab but she added more support brackets to safeguard the entire staircase.
She set the new posts, which are taller than the elevation at the second floor to be cut later properly at the same heights, in place. April used scraps to keep them in position. This goes the same with the braces. After she is done with marking the right elevation height of each post, she used a sawzall to cut the excess.

She proceeded with the board for the headerboards. She used carriage bolts to fix them. To do this, she had to pre-drill all the boards on each step of the staircase. She clamped that board in place to the 4×4 posts and secure it with a washer and a nut. She did that to all four posts at the top perimeter.
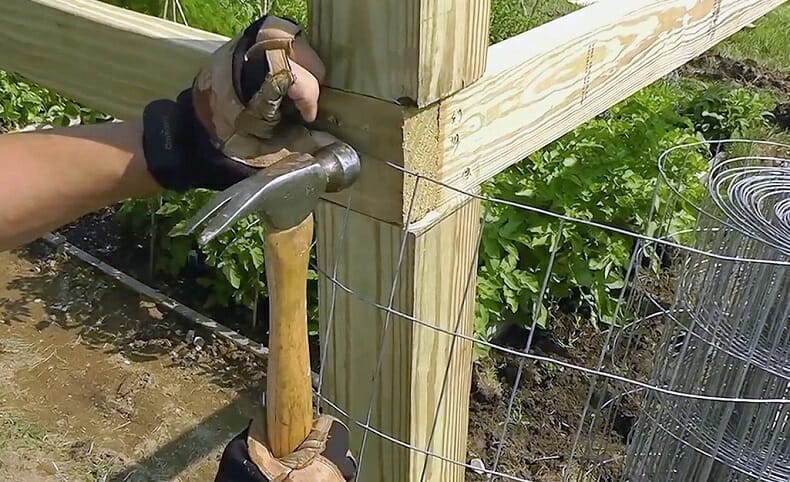
For the bottom, she chopped half-lapping wooden braces that act as the cross-bracing members. To make the half laps in the center, she made multiple cuts using her circular saw and use the hammer’s claw in knocking off the chips. Voila, a half lap. She set the braces in place at the decking’s support using carriage bolts.

At the top, she laid down a third floor joist with joist hanger and started laying down all the decking.
The decking has wooden boards spaced a quarter of an inch. She used construction adhesive, placed in her spacer and secured the boards using two screws per floor joist. For the last side, she cut it using a table saw.
She then clipped 4×4 wooden posts for the hand rails. At the base corners, she notched them out for alignment using a circular saw.

For the stringers, she laid down lines to a wooden board and cut through them using a circular saw. She made sure that she did not go past the line. She made all the cuts in one direction and come back on all the cuts going the opposite direction, and using a sawzall she finished making the cut. She suggests a jigsaw if you don’t have a sawzall.
This was done three times but the second and third wooden boards just followed the cut of the first one, no longer requiring to plot lines.
She installed the stringers using nails. April made sure that the stringers are perfectly flushed to the header.

With the help of her engineering husband, she placed the kicker plates underneath all stringers and screwed it on concrete using concrete nails. Once all are in place, she started nailing the riser materials starting at the bottom and then the center to align the stringers.
To install the riser materials, she initially used nail but went on to secure using screws. She finished this before fixing the treads, which are the horizontal portion on which a person walks. The wooden boards used for the treads are also little longer in length to have an overhang, which will hold the two 4×4 posts of the handrails.

The treads were notched to provide space for these handrail posts. Lag bolts were used to secure them.
April says that handrails are customizable depending on the one building the staircase. In this case, she made wooden handrails that are secured by the toe nailing into the 4×4 post. She cut the end of the posts to follow the angle using a circular saw on both sides, removing excess to the handrails.
Perhaps the most tedious task was adding the spindles or baluster according to April. To make it simpler, she used a jig that is a 2×4 for uniform spacing between the spindles. April secured them using a screw both at the top and the bottom with going every spindle at the below part first.
The top cap of the handrail was then installed to complete the staircase, starting at the top. It was locked with screws.
And April’s weeklong project is done. Watch how she did the entire thing below: